Applications
Applications provide authentication in front of the web and mobile apps you build on ZapEHR. You configure a ZapEHR Application for any app you build that needs ZapEHR login, such as a Patient Portal, or a provider-facing EHR app. Then, when Users log into your apps, they will get the access token used to call ZapEHR APIs.
ZapEHR Applications support a variety of authentication methods, including Email + Password, Passwordless SMS, and SSO / "Bring your own Identity Provider". With the Email + Password authentication method, you can send invitation emails to Users inviting them to your Applications. ZapEHR also supports self-registration for use cases where you want Users to be able to create an account without an invitation, for example, while self-scheduling their first appointment.
ZapEHR provides a hosted login page which saves you development time and leaves no room for security mistakes in authentication screen implementation.
For an additional layer of security, you can require Users to use multi-factor authentication (MFA) when logging into your Application.
The OAuth 2.0 Authorization Code with PKCE Flow
Applications use the OAuth 2.0 Authorization Code with PKCE flow (opens in a new tab) to authenticate. In this flow, Users are prompted to enter their credentials. The User's credentials are never shared with your app, instead they are sent directly to ZapEHR. ZapEHR redirects back to your app with an authorization code, which your app exchanges for an access token. This access token is then used to call ZapEHR APIs.
The Authorization Code with PKCE flow is most secure of the OAuth 2.0 flows. For User authentication, it is the only flow that ZapEHR supports.
Creating an Application
Let's create an Application for a Patient Portal. For this Application, Users will log into the Patient Portal with an email and password.
Create an Application with the SDK:
  const app = await zapehr.project.application.create(
    {
      name: 'patient-portal',
      description:
        'Patients log into this Application to use the Patient Portal to schedule appointments and view lab results.',
      loginRedirectUri: 'https://patientportal.notarealpractice.com/',
      allowedCallbackUrls: ['https://patientportal.notarealpractice.com/'],
      allowedLogoutUrls: ['https://patientportal.notarealpractice.com/logout'],
      allowedWebOriginsUrls: [],
      allowedCORSOriginsUrls: [],
      logoUri: 'https://static.notarealpractice.com/logo_150_x_150.png',
      loginWithEmailEnabled: true,
      passwordlessSMS: false,
      shouldSendInviteEmail: true,
      mfaEnabled: false,
    }
  );
Let's break down the properties we set when creating the Application:
loginRedirectUri— When a user accesses the hosted login screen directly instead of being redirected to it from your application, ZapEHR detects this condition and redirects the user to theloginRedirectUrito get them back on track. TheloginRedirectUrimust be a route in your application that redirects to the 'https://auth.zapehr.com/authorize (opens in a new tab)' endpoint.allowedCallbackUrls— When authentication is completed with https://auth.zapehr.com/authorize (opens in a new tab), the request is redirected back to your app with the authorization code as a query parameter. Because the callback URL can be tampered with, as a security measure, ZapEHR only redirects to callback URLs which are listed here.allowedLogoutUrls— After a logout is completed, the request is redirected back to a URL specified with the logout request. Because the logout redirect URL can be tampered with, as a security measure, ZapEHR only redirects to logout redirect URLs which are listed here.logoUri— The logo image specified here is displayed on the hosted login page when Users log into your Application.loginWithEmailEnabled— If true, Users can log into the Application using email + password. If false, Users can only log into the Application with other configured login methods, such as Passwordless SMS, or SSO.passwordlessSMS— If true, Users can log into the Application with a one-time password sent to their phone via SMS.shouldSendInviteEmail— If true, Users will automatically receive an email when they are invited to the Application. If false, it's left to you to communicate the invitation URL to the User. That way you can use your own email service and templates.mfaEnabled— If true, after authenticating first with email + password or passwordless SMS, Users will be prompted to enter a one-time password from a virtual TOTP app like Google Authenticator.
When the "Create Application" request succeeds, the API responds with the full details of the created Application:
{
  "id": "9d6df0c7-6d59-43b8-a74a-3cf2a8046608",
  "clientId": "i5ae3PnUKrWUZa3c3deQe91ML21eVU7w",
  "name": "patient-portal",
  "description": "Patients log into this Application to use the Patient Portal to schedule appointments and view lab results.",
  "loginRedirectUri": "https://patientportal.notarealpractice.com/",
  "allowedCallbackUrls": ["https://patientportal.notarealpractice.com/"],
  "allowedLogoutUrls": ["https://patientportal.notarealpractice.com/logout"],
  "allowedWebOriginsUrls": [],
  "allowedCORSOriginsUrls": [],
  "mfaEnabled": false,
  "logoUri": "https://static.notarealpractice.com/logo_150_x_150.png",
  "shouldSendInviteEmail": true,
  "passwordlessSMS": false,
  "loginWithEmailEnabled": true
}
Note the clientId property which contains the OAuth 2.0 Client Identifier you need in order to authenticate with this Application.
Using Applications
The next step is to set up your application to authenticate using the ZapEHR Application.
ZapEHR Hosted Login Page
To use the hosted login screen in a React application, we recommend using Auth0's React library (opens in a new tab). With this library, you just wrap your app in the Auth0Provider component:
<Auth0Provider
  domain={'https://auth.zapehr.com'}
  clientId={'YOUR_CLIENT_ID_HERE'}
  audience={'https://api.zapehr.com'}
  redirectUri={'https://example.com'}
>
  <App />
</Auth0Provider>
Then, call the loginWithRedirect function to redirect the user to the hosted login page:
const LoginButton = () => {
  const { loginWithRedirect } = useAuth0();

  return <button onClick={() => loginWithRedirect()}>Log In</button>;
};
The User will be redirected to the hosted login page, where they can enter their credentials:
Hosted Login Page Prompting for Email + Password
 In place of the Pacify
logo, you'll see the logo you specified as
In place of the Pacify
logo, you'll see the logo you specified as logoUri when you created the Application.
After authenticating, the User is redirected back to your application. The Auth0Provider component handles receiving the authorization code and exchanging it for an access token. Just call getAccessTokenSilently to get the access token.
With this access token, you are ready to call ZapEHR's APIs on behalf of the User. For example, you might use the FHIR API to fetch the User's appointments or lab results. Or your might invoke a Zambda Function to send the User an email from your CMS welcoming them to the Patient Portal application.
Authentication Methods
Your Users can log into your Application in a variety of ways, depending on how you configure the Application:
- Email and password — Users log into your Application with an email and password.
- Passwordless SMS — Users log into your Application with a one-time password sent to their phone via SMS.
- SSO — Users log into your Application through your third-party Identity Provider.
Email and password
By default, Users can log into your Application with an email and password. When you create your Application, you can set the loginWithEmailEnabled property to false to if you wish to disable email + password login. If you disable email + password login, make sure to enable a different authentication method, such as Passwordless SMS.
Passwords are required to be at least 8 characters long and contain three out of four of the following character types:
- Lowercase letters
a-z - Uppercase letters
A-Z - Numbers
0-9 - Special characters
!@#$%^&*
As an additional security measure, ZapEHR does not allow use of the 10,000 most common passwords (opens in a new tab).
Passwordless SMS
Set the passwordlessSMS property to true when creating your Application to enable Passwordless SMS. When enabled, the hosted login screen will prompt Users to log in with a one-time password sent to their phone via SMS.
In order to use Passwordless SMS, you must configure your Project to have a defaultPatientUserRole and enable self-registration for the Application. The first time a User logs in with Passwordless SMS, a Patient FHIR resource will be created for them and they will be assigned the defaultPatientUserRole access policy, as described in Self Registration.
SSO Authentication
While SSO Authentication is in beta, you must request access to the feature by emailing [email protected].
SSO Authentication allows you to bring your own identity provider (IdP) to enable authentication in ZapEHR. With SSO, when Users visit your application, they will be prompted to log into your IdP instead of ZapEHR. This might be an Azure AD or Okta Workforce login screen. After a User completes authentication with your IdP, they are redirected to ZapEHR's authentication backend, and the rest of the authentication flow completes as usual.
One big perk of SSO is that if the User is already authenticated with your IdP before visiting your ZapEHR application, they will automatically be authenticated without needing to enter their credentials again.
When Users log into your ZapEHR Application for the first time using SSO, they are granted the defaultSSOUserRole which is configured on the Project. Depending on your use case, this might grant no permissions or somewhat broad permissions.
During the SSO authentication, user data from your IdP is stored in ZapEHR. It is made available in the GET User endpoint, so you can use it to implement your business logic. For example, you might want to grant a certain Role in ZapEHR to Users from your IdP that have a custom claim proving that they are a provider or administrator.
Supported SSO Identity Providers
ZapEHR SSO Authentication supports all major SSO IdPs, as well as the major SSO standards. This includes:
- OpenID Connect (opens in a new tab)
- SAML (opens in a new tab)
- ADFS (opens in a new tab)
- Azure AD (Microsoft Entra ID) (opens in a new tab)
- Google Workspace (opens in a new tab)
- Okta Workforce (opens in a new tab)
- PingFederate (opens in a new tab)
Inviting Users and Self-Registration
By default, the way that Users are created in your Project is by inviting them with the Invite User endpoint. This is simple to use and ideal for many applications.
For example, if your practice has an EHR application for clinical use, and a patient portal application for Patients, you can seed the EHR application with administrative staff who have permissions to invite other Users. Then, that administrative staff can use the Invite User endpoint to invite clinical staff to the EHR application, and patients to the patient portal application.
ZapEHR supports patient self-registration for use cases where you want patients to have an account before they are known to your practice. For example, you might want prospective patients to register for an account as part of self-scheduling their first appointment.
By default, the SSO Authentication feature behaves like a self-registration for practitioners. You manage who can become a User in your application by creating accounts in your Identity Provider. Then, when a User logs into your Application with SSO for the first time, a User is created with an empty Practitioner FHIR resource as their FHIR Profile, and they are granted the defaultSSOUserRole.
Depending on your use case, it may also be appropriate to enable SSO login for patients. This can be configured during the SSO setup process and functions on a per-user basis. Patients logging in this way will receive the defaultPatientUserRole. This allows your practitioners and patients to login to your application and each receive the correct level of permissions.
The following table summarizes the different ways Users can be created:
| Authentication Method | Invite User Endpoint | Self-Registration | Self-Registration FHIR Profile | Default Role |
|---|---|---|---|---|
| Email + Password | ✅ | ✅ | Patient (opens in a new tab) | defaultPatientUserRole |
| Passwordless SMS | ✅ | Patient (opens in a new tab) | defaultPatientUserRole | |
| SSO | ✅ | Practitioner (opens in a new tab) | defaultSSOUserRole | |
| SSO (patient) | ✅ | Patient (opens in a new tab) | defaultPatientUserRole |
Configuring Self-Registration
Self-registration is enabled by setting the signupEnabled property to true on your Project. This setting applies to all Applications in the Project.
Multi-factor Authentication (MFA)
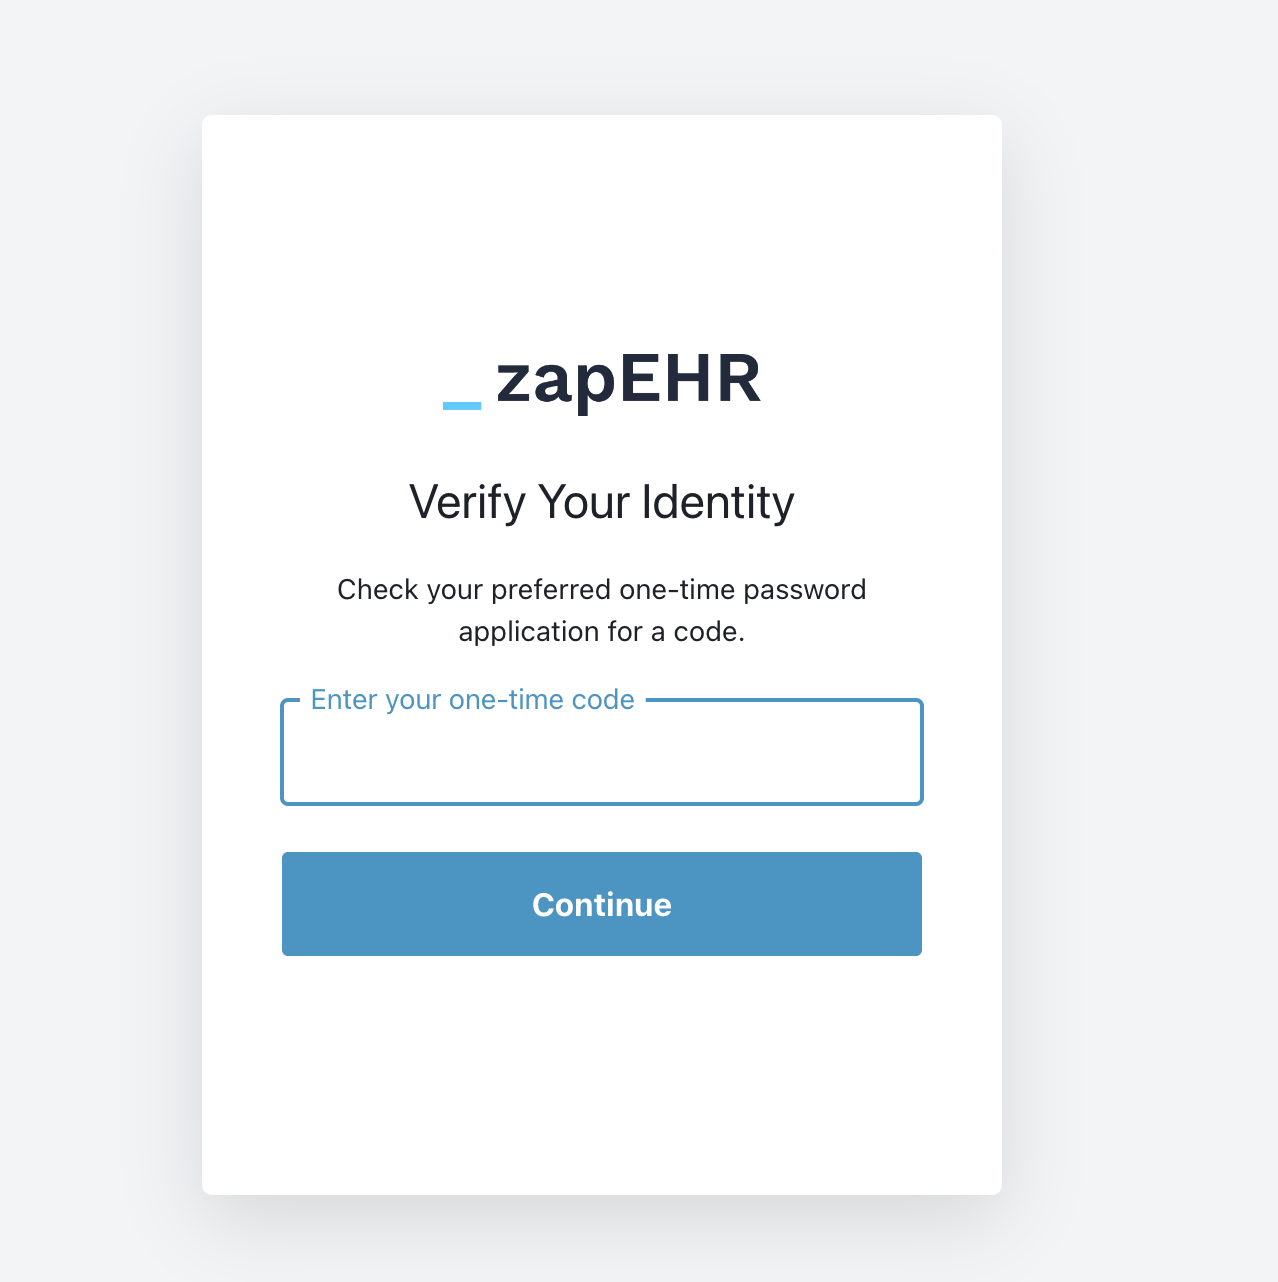
ZapEHR provides multi-factor authentication (MFA) to add an additional layer of security to your Application. When MFA is enabled, the first time a User logs in with Email + Password, they are prompted to scan a QR code to set up MFA.
Then, on each login, Users must enter a one-time password from a virtual TOTP app like Google Authenticator after authenticating with Email + Password.
Multi-factor authentication code prompt